Yes, you can format the micro SD card to NTFS. Go to File Manager, click on Disk Management, then Erase Us Partition Master to format the card.
It’s a good idea to format your SD card if you suspect bugs are building up to corrupt the file data. Clearing and deleting may refresh the micro SD, but formatting is the best way to reduce the risk of data corruption.
In this blog, we have explained how to format SD cards on multiple devices and the important points to consider. Read all the steps carefully to follow through.
Let’s dive right in!
Before formatting your SD Card, you must save all the data in the SD card, as you can’t get them back after formatting with a Windows PC. Here are the steps for how you format a micro SD card using Windows devices:
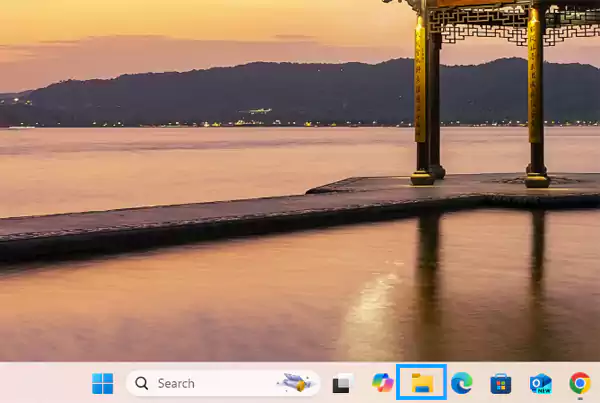
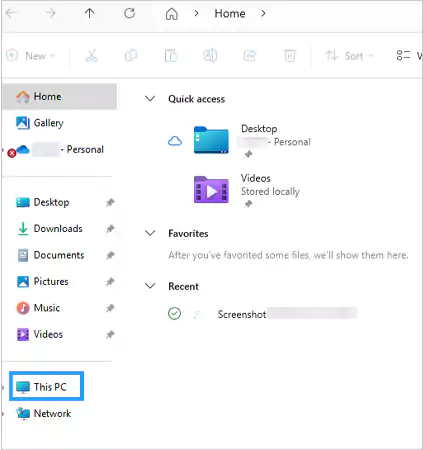
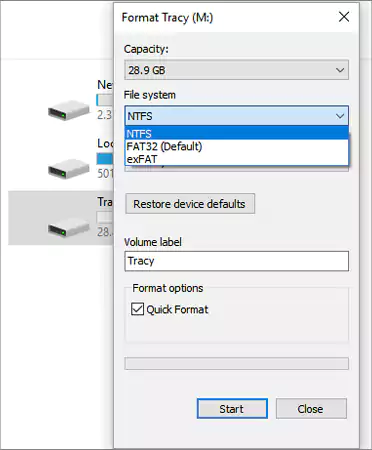
So this is how you can format a micro SD card using Windows. We have discussed three other ways to carry out the formatting process. Follow through the coming sections.
If you own a MacBook, follow through the steps we have written below to clear the SD card. Just make sure that your SD card is compatible with your Mac.
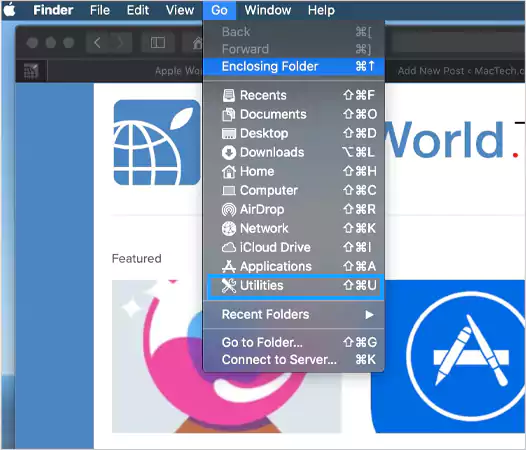
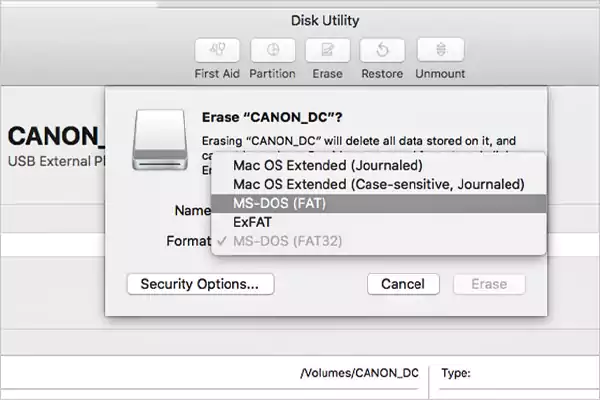
So this is how you can format a micro SD card using your MacBook device.
Erasing data from your SD card is possible with all the Android models. Whether you have Android 11, 10, or even earlier versions, follow through the steps given below:
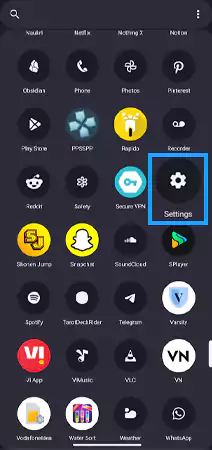
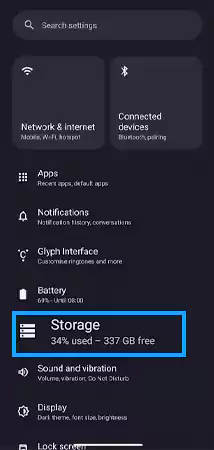
Moving ahead, let’s understand the way to clear an SD card using the camera in the next section.
Clearing your micro SD using the camera is quite simple. Just consider two things: backup the data in Google Photos or iCloud if you want to keep them and charge your camera’s battery to the full. After doing so, you can follow the steps listed below to format an SD card using a camera:
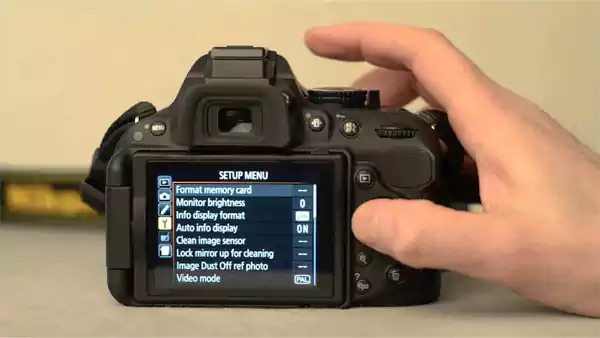
Wait for a few minutes for the process to be completed. After that, power off your camera again and remove the SD card if you want.
So this was all about how to format SD cards using Windows, Mac, Android, and Camera. We hope the steps in this blog will help you to erase the data and protect your SD card from corruption. Share the info with your friends and family to make them aware as well.
Yes, you can format the micro SD card to NTFS. Go to File Manager, click on Disk Management, then Erase Us Partition Master to format the card.
To format the SD card to Fat32, in the file explorer, right-click on the SD card and click on format. Now select Fat32 from your system and tap on Click to format the driver.
To format an SD card on PSVita, go to Settings. Scroll down to locate the Format section. Next, click on the Format memory card and select the Format button.
Place the micro SD card in the card reader, and press the Windows key+E. Right-click on the SD card drive and tap on Format.
If your SD card is showing format errors, it can be because your computer isn’t able to read it or it has become corrupted.
Connect your SD card to the computer and open the command prompt. Launch the disk part to open the list of disks. Locate your SD card and clean it.
Clean the SD card tray reinsert it into the port and run the chkdsk /f /r /x command to fix the issue.
